How to make a Study Group tutorial
So you have this nice piece of code that took you time and effort to develop and now you want to share it with the world. In this tutorial you will learn to do just that. We will go through the steps of creating a nice tutorial in using markdown, inserting images and then publish it on the Aberdeen Study Group website. I will show you how we do it step by step, but this is by no means the only way to do it.
The tutorial is divided in 4 parts:
1. Open an issue and create the event on the website
2. Create your script and upload it on GitHub
3. Create the markdown file
4. Upload the tutorial on the website
5. Useful links
1. Open an issue and create the event on the website
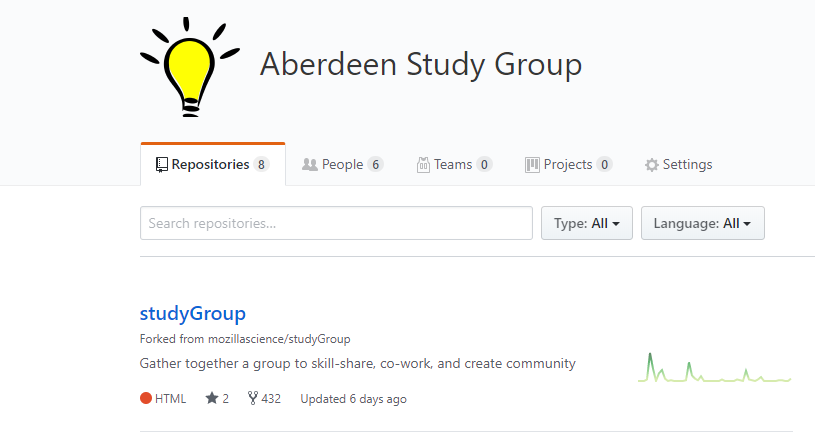
The first thing to do is to advertise your tutorial. We use GitHub for everything, including the advertising, this way we have a nice way to record every activity and every discussion as well as all the material we produce. If you don’t have an account yet, you can join at this link. The Aberdeen Study Group is an organisation account, which means that multiple people can manage all the repositories of that account. Have a look. The first repository you see is called studyGroup and it contains everything needed to make the website. Click on it.
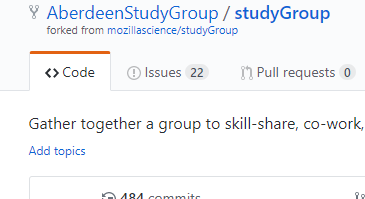
To create the event page just click on Issues.
Then on the green button New issue. Give the issue the title of your tutorial and write a description. You will need to use markdown syntax in the Issues, for example:
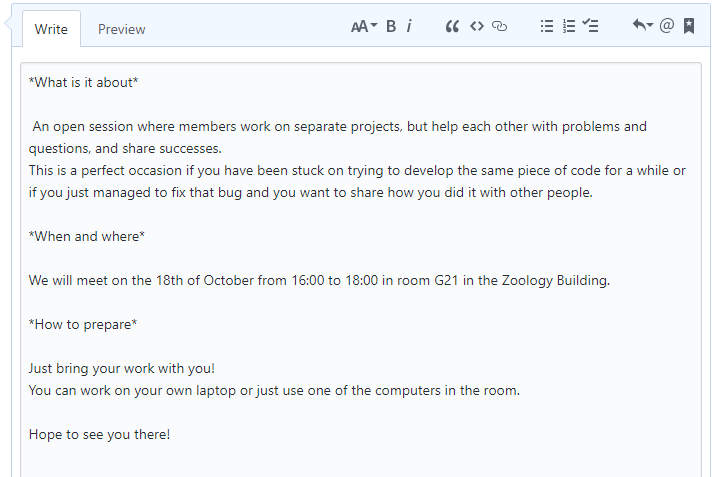
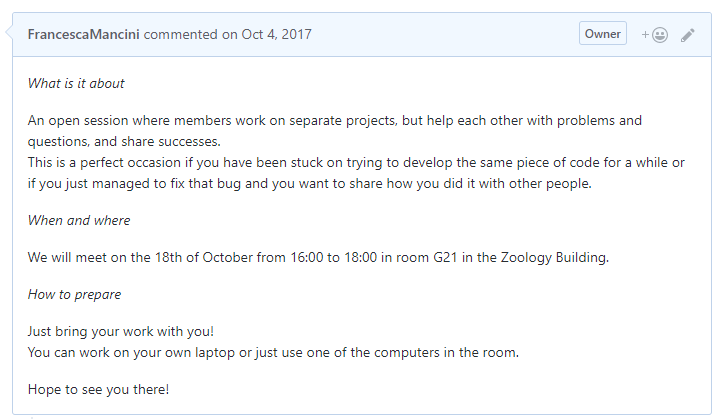
The click on the green button Submit new issue. It will look like this:
Well done! The event page is now on GitHub. Now we want to create an event that will go on the website so everyone who looks at it will see our scheduled tutorial. To do that, open the _posts directory

All the files in the -posts directory start with the date of the event (yyyy-mm-dd) then a short name for the event and they have the extension .markdown. For tutorials I like to name the file yyyy-mm–dd-SG-Tn-Mytitle.markdown where SG-Tn stands for StudyGroup-Tutorialnumber. This way we can easily keep track of how many tutorials we have produced. Go ahead and click on the Create new file button and name your file using the conventions above. The text needs to be in a specific format so that it will be rendered in the right way on the website:
---
title: The title of your tutorial
text: A short description of your tutorial (one sentence)
location: the room the tutorial will be in
link: the link to the event page you just created
date: the date of the tutorial (yyyy-mm-dd)
startTime: '17:00'
endTime: '18:30'
---
Fill this template in with the details of your tutorial and click on the green button Commit new file. Now wait a few seconds, then go to the Aberdeen Study Group website and look under Events. Can you see the event you just created?
Great! Part one is over. Let’s make a tutorial now.
2. Create your script and upload it on GitHub
What I like to do is to develop my script first. I use RStudio for this, just because it is very easy to connect it to GitHub. You can use any other text editor and then just upload your files on GitHub. Let’s go back to the Aberdeen Study Group organisation page. Here you will see a list of repositories named SG_T, these are the repositories for (almost) all the tutorials the Aberdeen Study Group has produced. They contain everything that is necessary to complete the tutorial, such as data and scripts. To create one, click on the green button New , give it a name (SG-Tn*-yoututorialtitle) and tick the box Initialize this repository with a README, then click on the green button Create repository. It is a good idea to write an informative README file, so people know exactly what to find and how to use your code. Try editing the README file of your new repository. Let’s go back to develop the script for the tutorial.
Step 1
For RStudio users
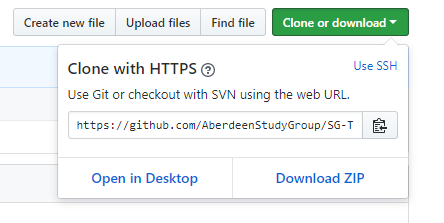
If you don’t have Git installed on your machine then go though Part 1 of this tutorial. Once Git is installed and configured, from your new repository page, click on the green button Clone or download and copy the link:
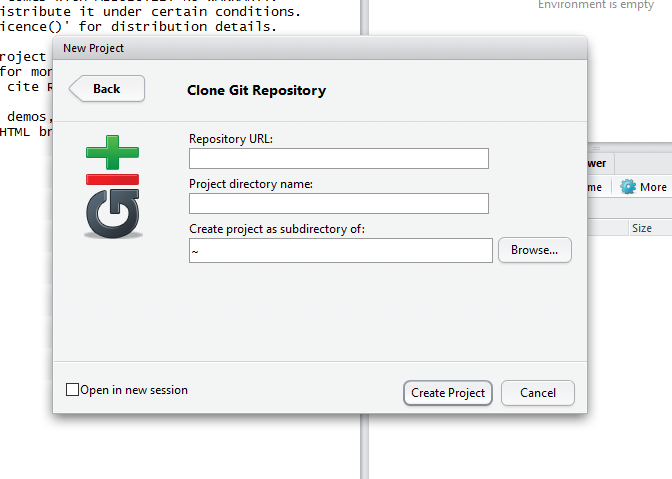
The open RStudio open the File menu and click on New Project. Choose the Version Control and then the Git option. Paste the link you copied earlier under Repository URL, the project directory name will automatically change into your GitHub repository name, then choose where to save it. Then click on Create Project.
Now the GitHub repository is connected to the folder on your machine, so you can commit and push changes to the online repository. For now just open a new R script.
For everyone else
If you use Tinn-R or any other script editor to write your code just open a new script.
Step 2
For the sake of this exercise we will create a very simple script. You can just copy and paste this R code into a new R script and save it, or, if you want, create your own script. Always start your scripts with some useful comments, something along the lines of:
###############################################
# Script for Aberdeen Study Group tutorial on
# "How to make a Study Group tutorial
# Author: Francesca Mancini
# Date created: 2018-02-13
# Date modified :
###############################################
Then add your code.
summary(cars)

plot(pressure)
Make sure you save any plots you produce with this script.
Step 3
For RStudio users
After you have saved your script and your plots, stage the changes in the Git tab, commit and push them to your remote repository. You can follow the workflow explained in this tutorial. If you have data files to upload, then follow the steps for non-RStudio users.
For everyone else
All you need to do now is upload your script onto your new repository. Go to your new repository and click on Upload files, browse to your file or drag it into the repository. Then click on the green button Commit changes.
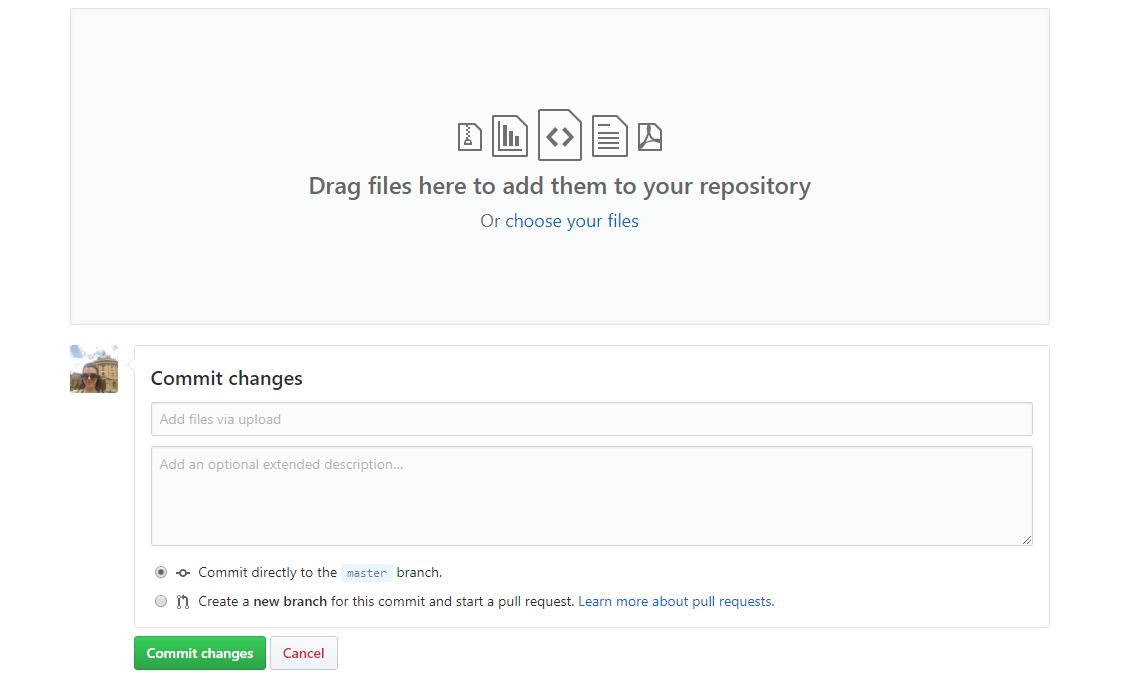
Do the same if you need to upload data for your tutorial.
Step 4
Now your new repository will look something like this:
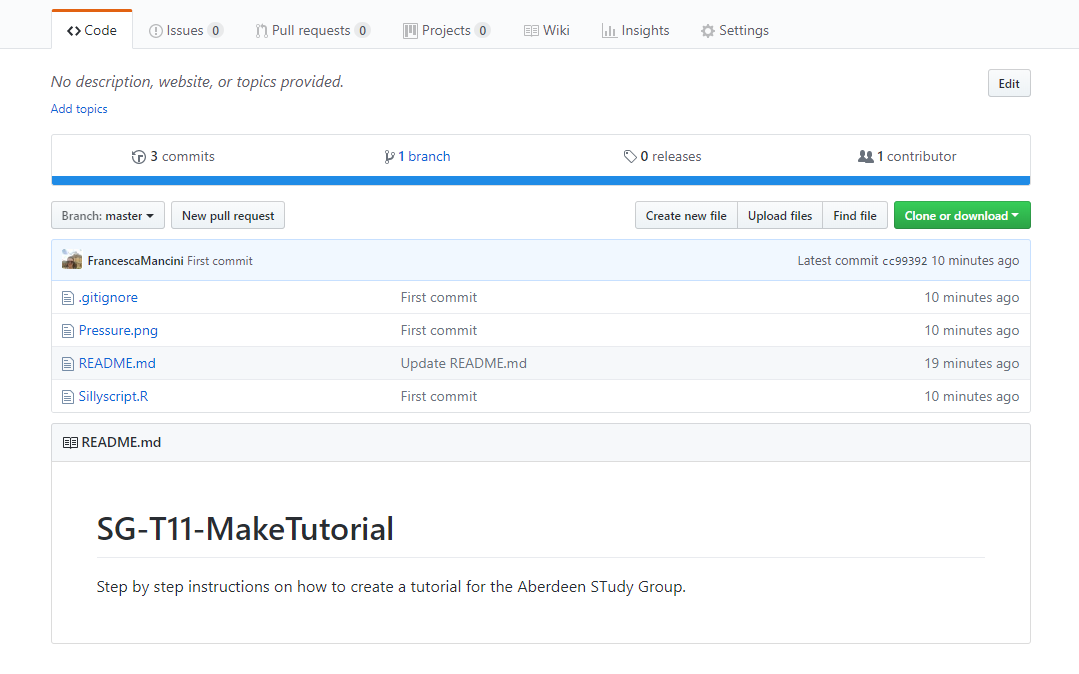
Look at it and feel good, you’re almost done!
3. Create the markdown file
Now that you have developed the code for you tutorial, all you need to do is to add some text to explain what your code does, how it is useful and document every step of the tutorial. Be as detailed as possible, don’t assume that people will know why you used a certain argument in that function or that they know how to import data. At the same time, try to be as concise as possible. Less is more when you are learning, so don’t dump too much content into one tutorial, make two instead!
To create a tutorial that will go on the Aberdeen Study Group website we need to use markdown syntax again. We will also need to use a few lines of html code to create a clickable table of content and to insert images. We could use RStudio and R Markdown, but, ufortunately, these two don’t handle html code very well. Personally, I like Atom, a free and open-source text editor developed by GitHub.
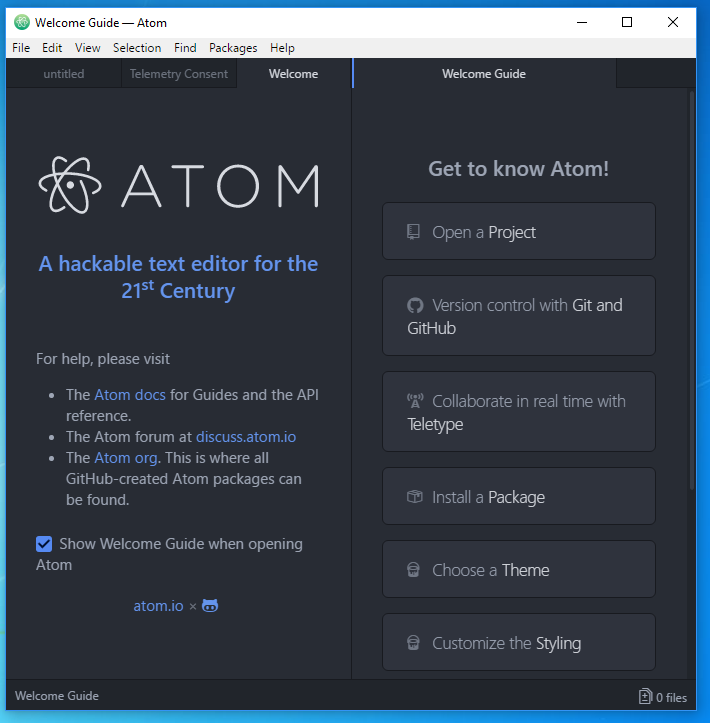
You can download Atom here. Otherwise you can use any other text editor of your choice.
Step1
First of all open a new script and save it as a .md file. All of our tutorials need to start with this header:
---
layout: page
title: "Your tutorial title here"
author: "Your name here"
output: html_document
visible: true
tags:
  # languages
  - one of R, python, Git or misc
  # levels
  - one of beginner, intermediate or advanced
---
Apart from title, author and tags everything else stays the same. The tags are a way to categorise your tutorial, by programming language used and by level. If you go to the Aberdeen Study Group website and to the Lesson content page, you will see that the tutorials are all organised using these tags.
Step 2
It is a good idea to create a clickable table of content at the beginning of your tutorial so people know what to expect and they can easily skip a few steps if they want to.
As I said before, we need to use html code for that. The table of content for this tutorial has been created using this code:
#### <a href="#event"> 1. Open an issue and create the event on the website </a>

#### <a href="#script"> 2. Create your script and upload it on GitHub </a>

#### <a href="#markdown"> 3. Create the markdown file </a>

#### <a href="#tutorial"> 4. Upload the tutorial on the website </a>
The “####” specify that the text that follows is a header. The title of each section is enclosed between tags <a> .... </a> and the href attribute specifies the link to that section in the text.
To make this work we also need to use name attribute when we write the title of the section later in the text. For example, the title of this section in this tutorial is written as:
<a name="markdown"></a>
## 3. Create the markdown file
where the name attribute is the same word we used in the table of content. The two “#” again specify a header in Markdown, in this case it will be a bigger header than when we used 4 “#”.
Our simple tutorial consists of two steps, a summary and a plot, therefore we can create a simple clickable table of content like this:
#### <a href="#summary"> 1. Create a summary of your data </a>

#### <a href="#plot"> 2. Create a plot of your data </a>
To link to the respective sections in the text use this code to create the sections’ headers:
<a name="summary"></a>
## 1. Create a summary of your data
and
<a name="plot"></a>
## 2. Create a plot of your data
Step 3
Now we can start inserting some plain text to explain what the tutorial is about. For example we can add:
In this tutorial you will learn how to create a summary of your data and how to make a simple plot.
The code needs to be inserted into code chunks. You can specify a code chunk by starting it ``` and ending it with ```. In this case we can insert the first code chunk like this:
```{r}

summary(cars)

```
{r} just specifies that we are writing R code.
Have a go at inserting the second code chunk (for the plot).
Step 4
After the plot command we might want to include the actual plot in the tutorial. Again we are going to use html code to insert images in our tutorial. The syntax to insert an image is:
<center><img src="../Atom.PNG" alt="Img" style="width: 800px;"/></center>
where <center> specifies that we want the image to be placed in the centre of the page (horizontally), <img src="" specifies the location of the file, alt="" gives the image a name and style="" specifies some graphical parameters.
Write the html code that you will need to insert the plot you saved into your tutorial. We will check if it worked in the next step.
Step 5
We are finally ready to upload our tutorial on GitHub.
Go back to the AberdeenStudyGroup/studyGroup repository and open the directory lessons. This directory contains all the tutorials that have been developed for the Study Group. To add your own, simply click on Create new file. We will now create a new folder inside this directory by writing the name of the new directory followed by / and by README.md.

Write an informative README file and then click on the green button Commit new file. Now you can add your tutorial and all of your image files by simply uploading them into this directory. Just click on Upload files, choose your files and commit your changes. Done! Now you can admire your tutorial on the Aberdeen Study Group website.
5. Useful links
-
Mozilla has created an awesome handbook for Study Group leaders. You can find it at this link
-
If you want to learn more on markdown syntax have a look at this Aberdeen Study Group tutorial
-
This guide to Creating and Hosting a Personal Site on GitHub is meant to help Git and GitHub beginners get up and running with GitHub Pages and Jekyll in an afternoon!
-
Have a look at this blog post on What makes a good programming tutorial